
Steps for Registering Online
Step 1 – Select courses
First explore the courses offered and make your tentative selections in order of preference. TSO has posted two resources to help you plan: a listing of Fall 2018 courses by date and time and the Instructor Biographies. Or you may go to the Bellevue College Continuing Education Course Catalog pictured below.
Note: The pages below are taken from previous terms, but the process remains the same.

When you click on a category of interest (by selecting a category or day of the week ), you will see the list of courses in that grouping. For instance, if you click on Thursdays, you will see the following:
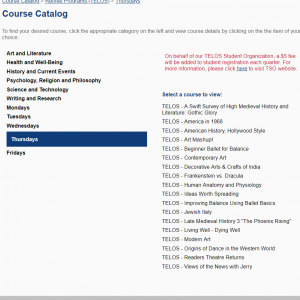
Then click on one of the courses to see the course description . . . . .
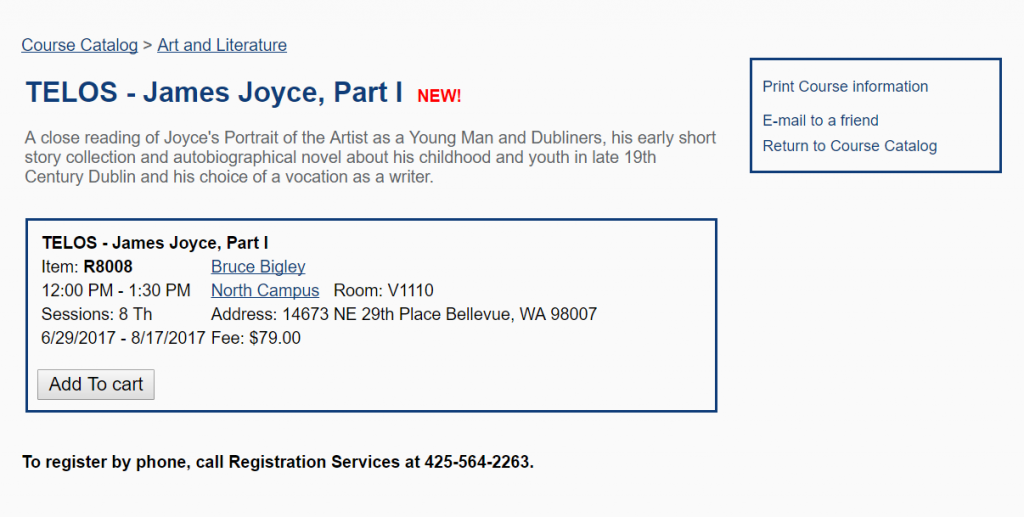
and information about the instructor . . .

Step 2 – Check to see if courses of your choice are available
After identifying courses that you want to take, you should check to see if the course(s) is full. If the course is full it will indicate “Add to Wait list” in the lower left hand section of the registration box. See below.
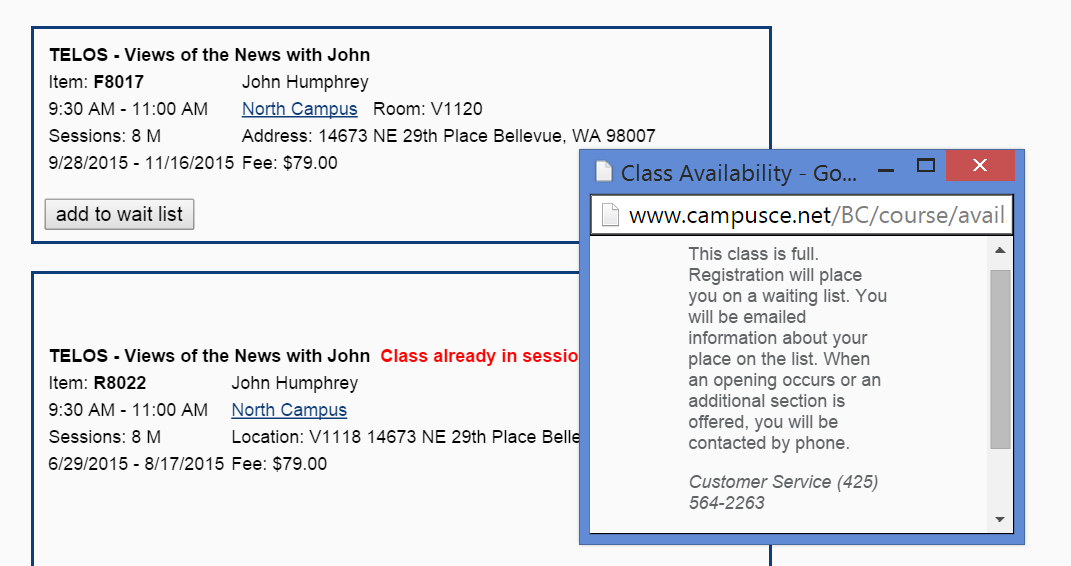
A course that is wait listed.
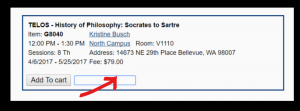
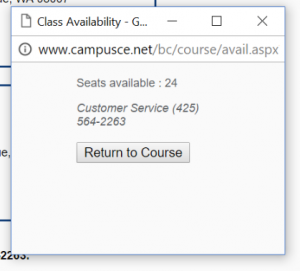
If the course is available, the registration box will say “Add to cart”. Clicking in the space (shown in blue) to the right of “Add to cart” will bring up a box showing the number of remaining seats.
Step 3 – Registration (signing in to your account)
First you need to sign into your account or “Create new account” if you don’t already have one. To do that, click where it says “Sign in” in the upper right section of the catalog screen. Then you will see the screen shown below. Either “Sign in to existing account” or “Create new account”.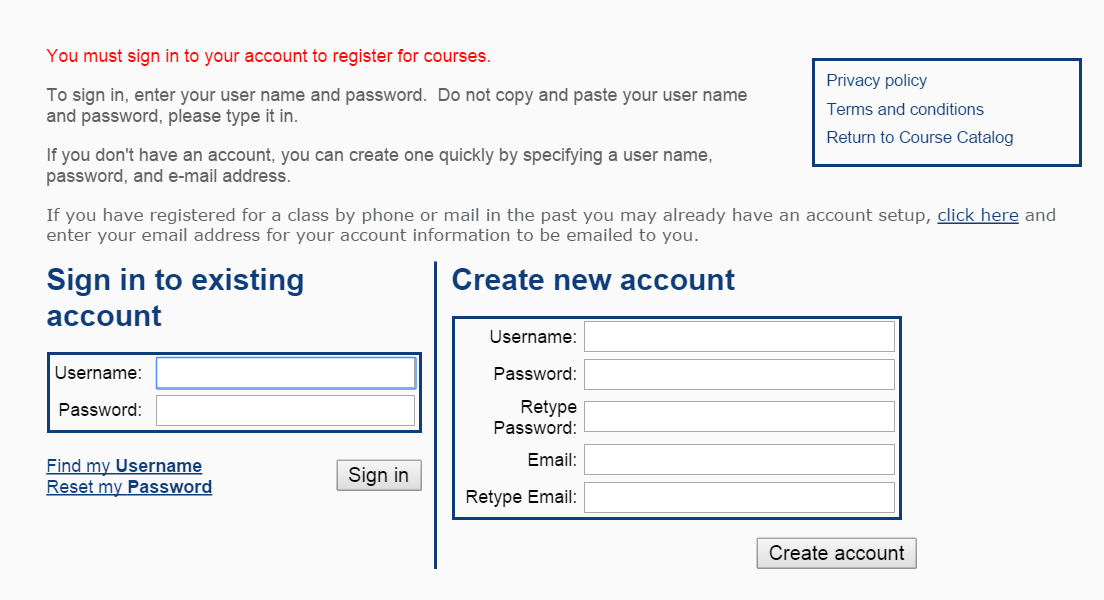
Step 4 – Continuing the registration process
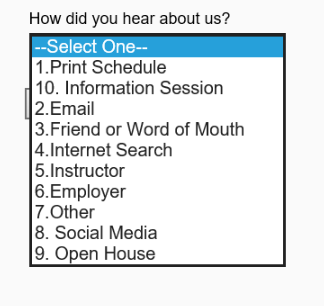
Return now to the class for which you wish to register, and click on “Add to Cart.” You will go to the “Shopping Cart” page. There you will be asked to indicate how you heard about TELOS (see lower right). 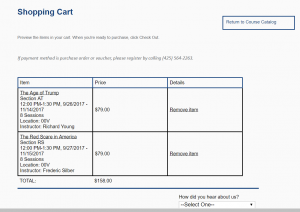
Then you may either “Return to Course Catalog” (upper right on Shopping Cart) to add additional courses or begin the “Check Out” process (lower right).
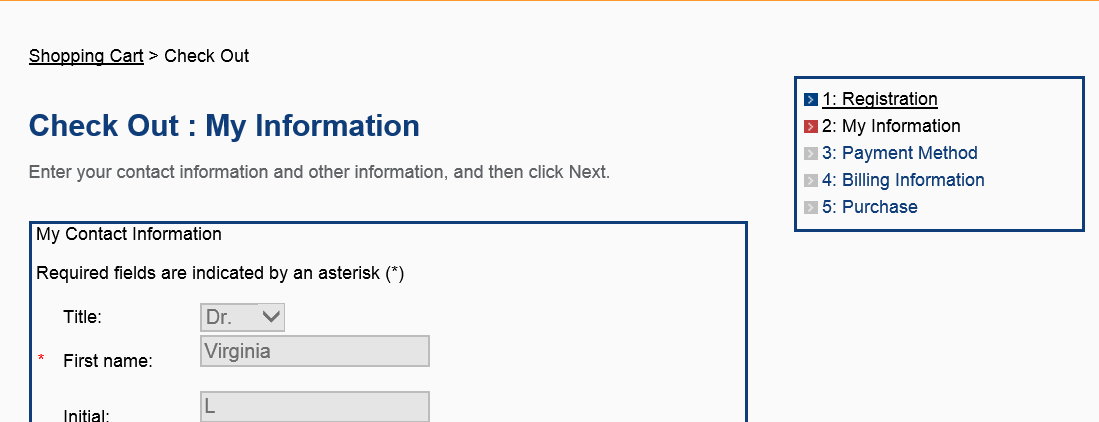
Step 5 – Starting the Check Out procedure
As you begin the “Check Out’ process you will see a box on the upper right of each page indicating the progress you are making.
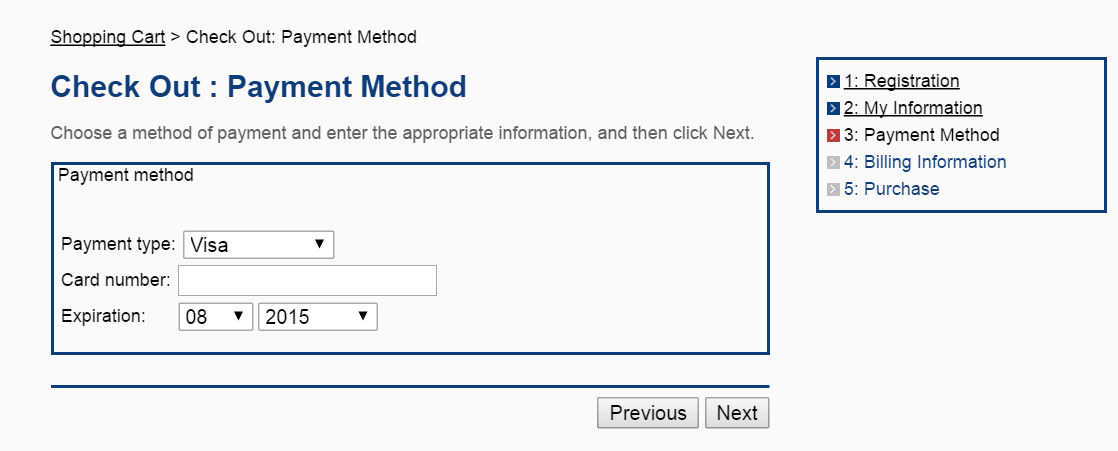
Step 6 – The Payment Method
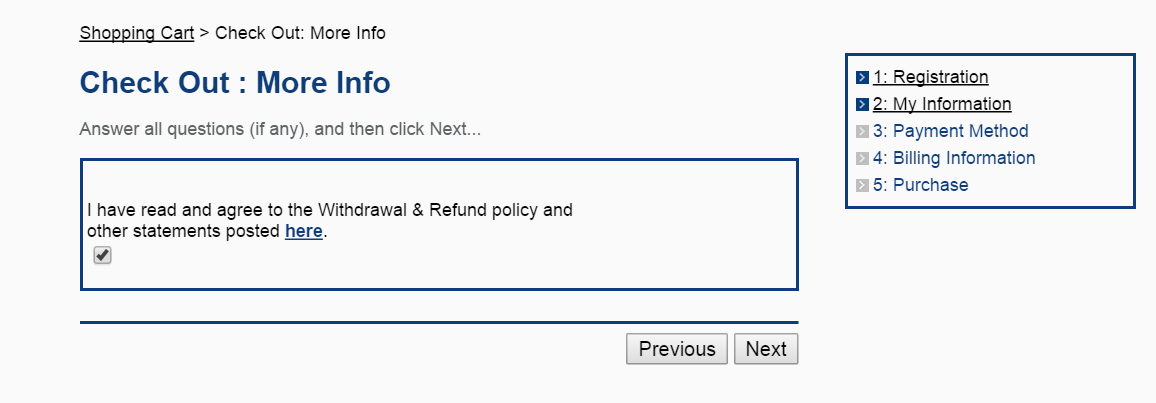
From the “My Information” and “More Info” pages you will go to the “Payment Method”. It is easy to follow these steps. All you do is click “Next” at the bottom right of each page after completing the information.
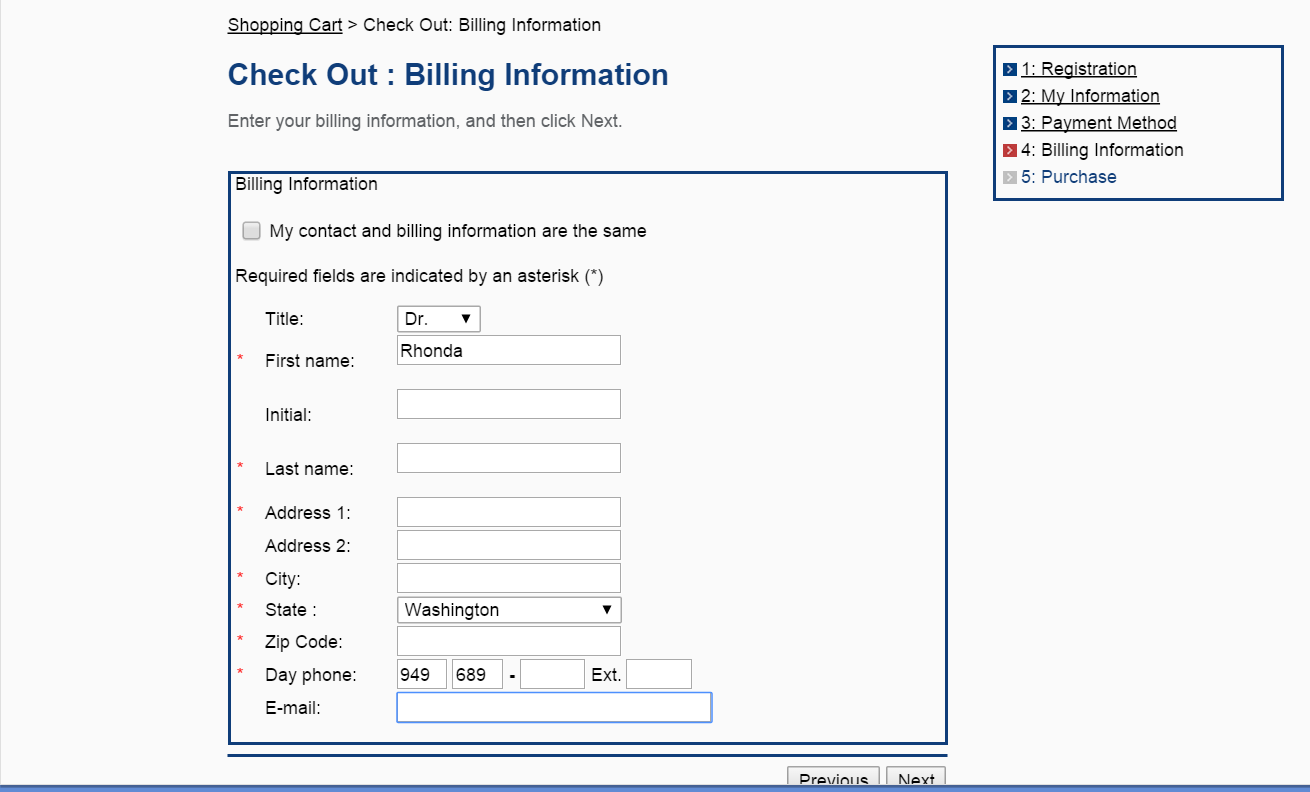
And then, of course, the “Billing Information”
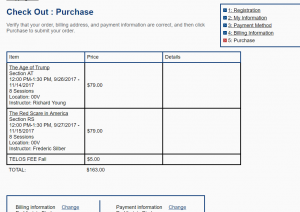
Step 7 – Making the final Purchase
You are almost finished. Click on “Purchase” where you will be given a chance to review your selection(s) and change your Billing and Payment information. Once you are satisfied that the information is correct, click Purchase to submit your order. Note that a $5 TSO quarterly fee has been added after the course choices. Click here for explanation of the $5 fee.
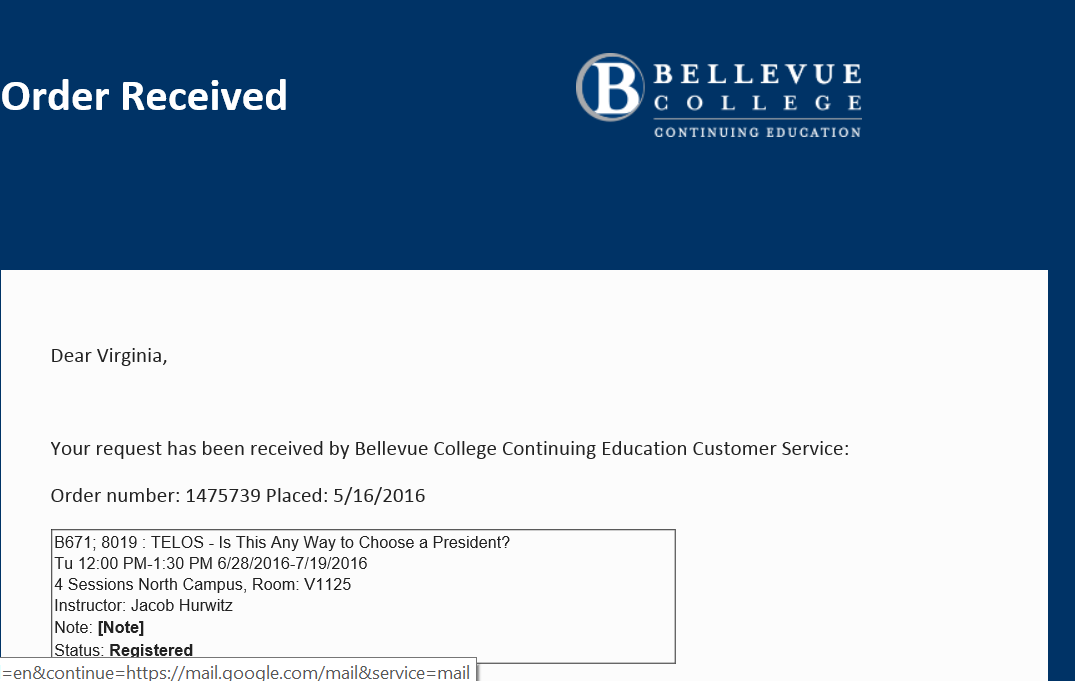
Step 8 – Confirmation printed from online or sent to your e-mail account
Finally, you will receive confirmation of your selection either online from which you can print
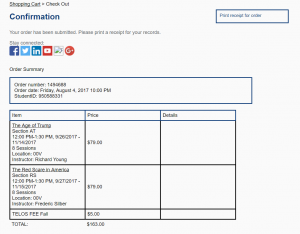
or the selections will be sent to your e-mail account on file.
That’s it. You are finished! See you in class.
____________________________________________________